

Sony HDR-TD20
The camera I’ve used for some 3D test footage yesterday looks just like any other Sony Handycam except for the two lenses in front and the video viewfinder is a glasses-free 3D screen. For a consumer product that is around $1,000 on Amazon, this is incredible.
This is my only experience with 3D cameras so I don’t have much to compare it to but a reviewer on Amazon said “. . .I also took footage of [a] turtle under the water from above the lake in the local park and it was just amazing.”
It’s hard to argue with amazing turtle footage.

Turtle-Cam 3D
In order to play back video in glorious 3D however, you’ll need a special program. I’m using Stereoscopic Player which has a free trial download but is only for Windows machines at the moment. Viewing is pretty simple, you just drag the video files in from whatever folder you saved them in and they play like any video player.
You do, however, need to be wearing active 3D glasses, otherwise the video looks a little blurry and decidedly two-dimensional.

3D test footage played back with the Stereoscopic Player program. People walking in the background appear in doubles without 3D glasses.
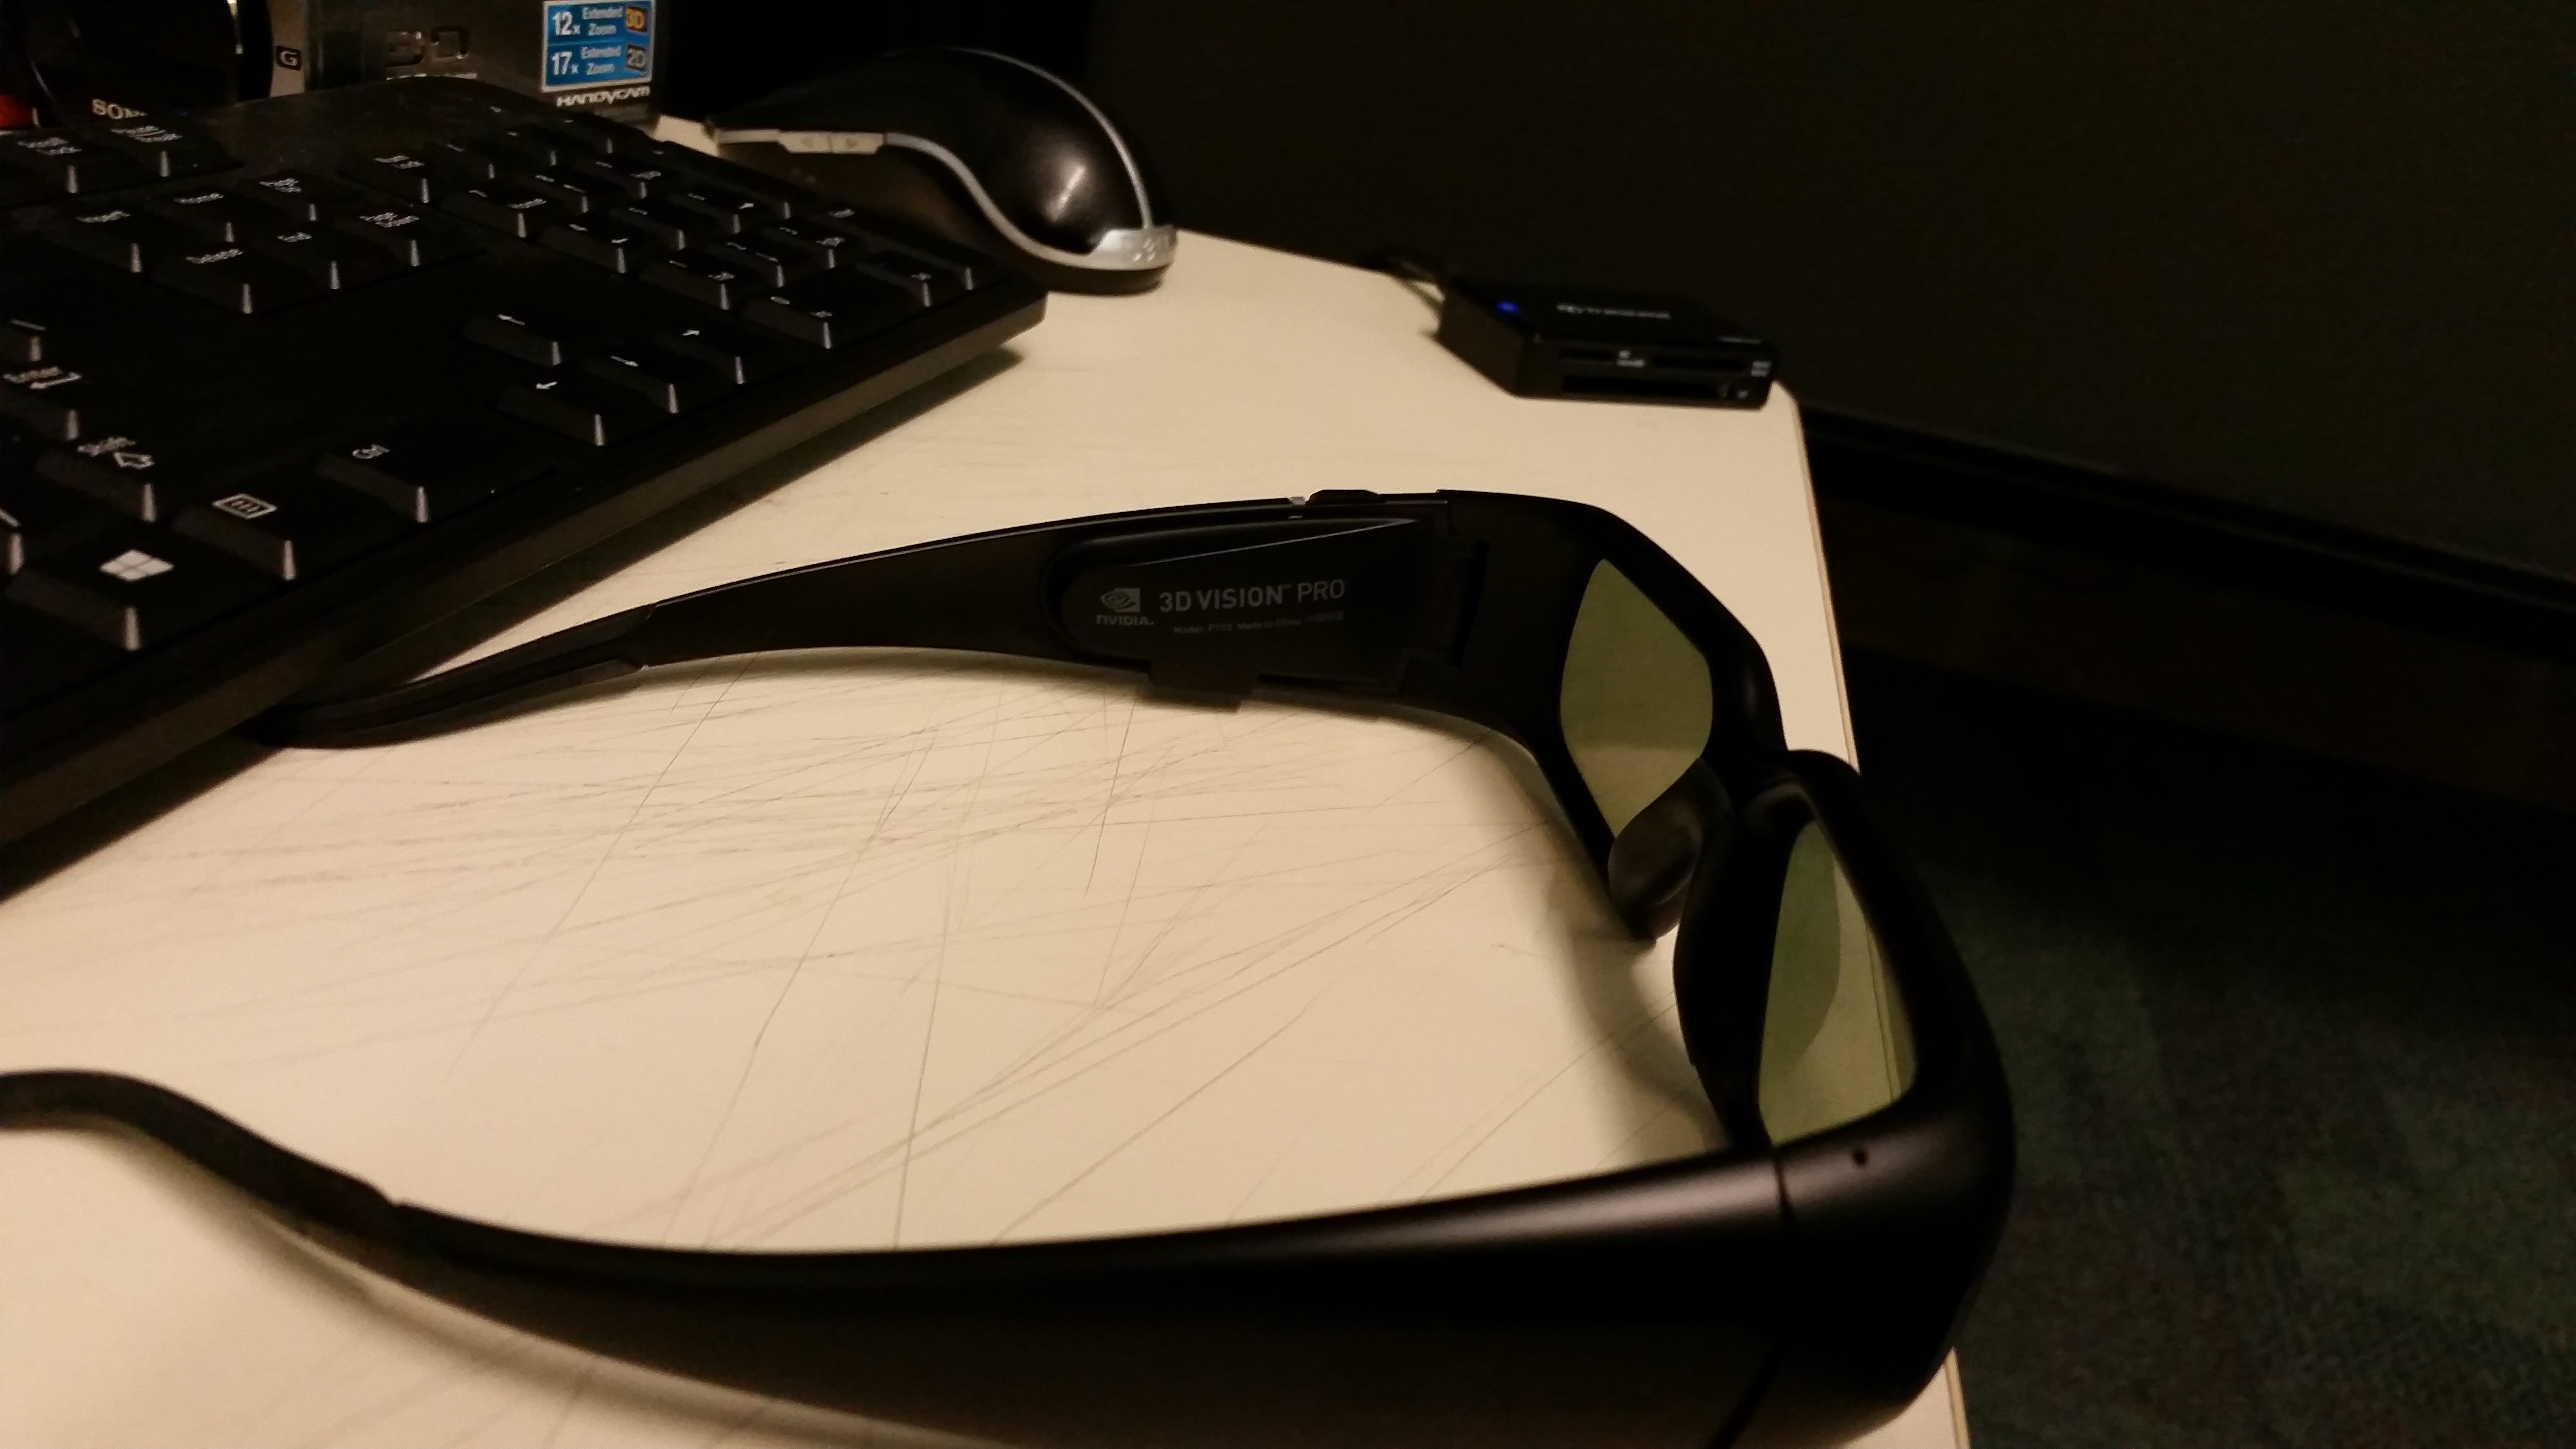
A pair of active 3D glasses are needed to view the video in 3D. As they are active, the glasses will require a power source. This pair has a rechargeable battery.
A 3D camera doesn’t magically make footage have depth, though it comes close. Without the right angle footage can still appear almost completely flat. I was able to achieve greater depth by following a few basics:
1. Have an something, anything, in the foreground, middle ground, and background.
When all three of these areas have something for the eye, the contrast between their locations in 3D space is easily defined. If you remember from one of my previous posts, 3D is basically a big lie to our brains. Placing objects at different depths helps to fool our brains that the depth you’re recreating on the screen is real. Be careful not the clutter the scene up too much, or it will strain the viewers eyes and distract from the scene.
2. Be aware of large, especially horizontal, backgrounds.
A large, flat background can wash out the depth and make your subjects look flat against a screen. The more wide and monotonous the background, the flatter the whole frame appears to be. If you take a look at the screenshot above the glasses, you can see I tried to use the two buildings to frame the background and give it depth. The motion of people walking helps too. I was struggling to achieve depth when shooting the scene straight on. When I raised the camera more on the tripod and angle it down I think I got a better result.
3. Tight shots get more depth.
This is pretty similar to the last point but I think it bears repeating. It was very difficult to achieve the 3D effect from wide shots and even medium shots were a challenge without staging the scene.
4. Keep in mind what you’re trying to achieve.
3D is wicked cool on its own but think about what you’re trying to accomplish in that scene. I think 3D can help draw the eye to what you think it important in the scene. In some test footage, I wanted to make the screen of a cell phone the focal point. I tried to draw attention to it by having the phone move between the foreground and middle ground to make the 3D effect more noticeable.
This last points gives me a lot to think about. I understand a viewpoint that 3D in general makes a scene more real and thus more engaging but I’m sure there are more nuanced and varied applications. I will continue to look to others in the field for ideas and inspiration.
